
New guy with 84 k10


Thread Starter
|
Junior Member
Joined: Nov 2010
Posts: 91
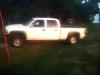
Tail lights are on, got both headlights working and but the tailgate on so didnt get much done but at least its something.
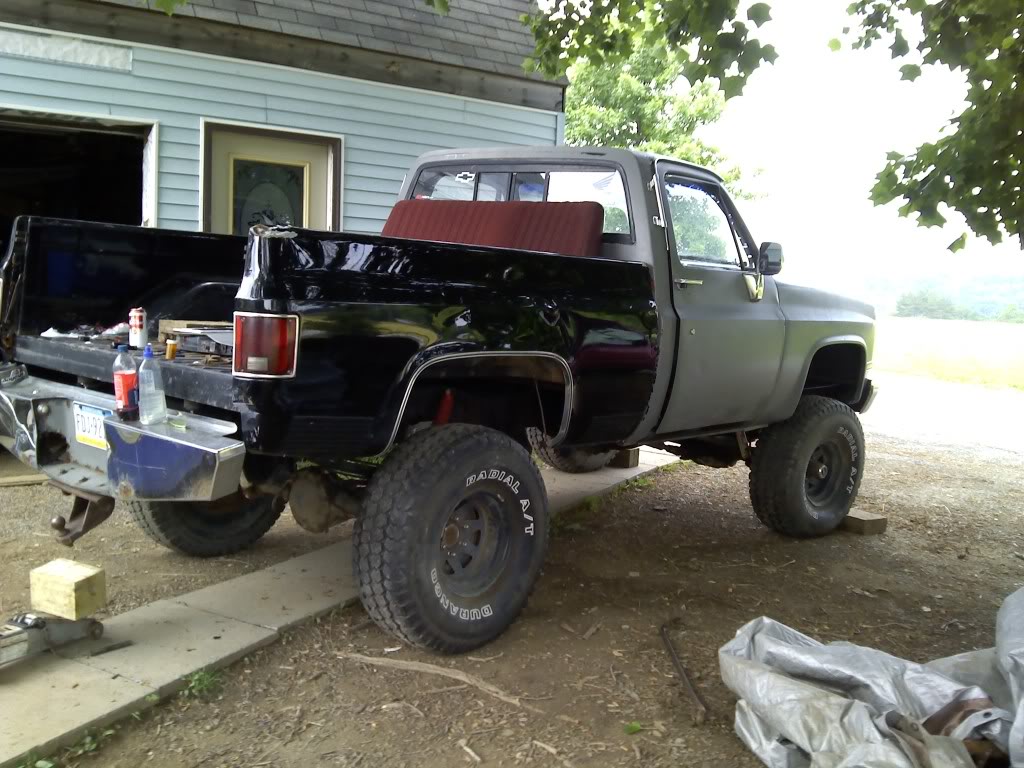
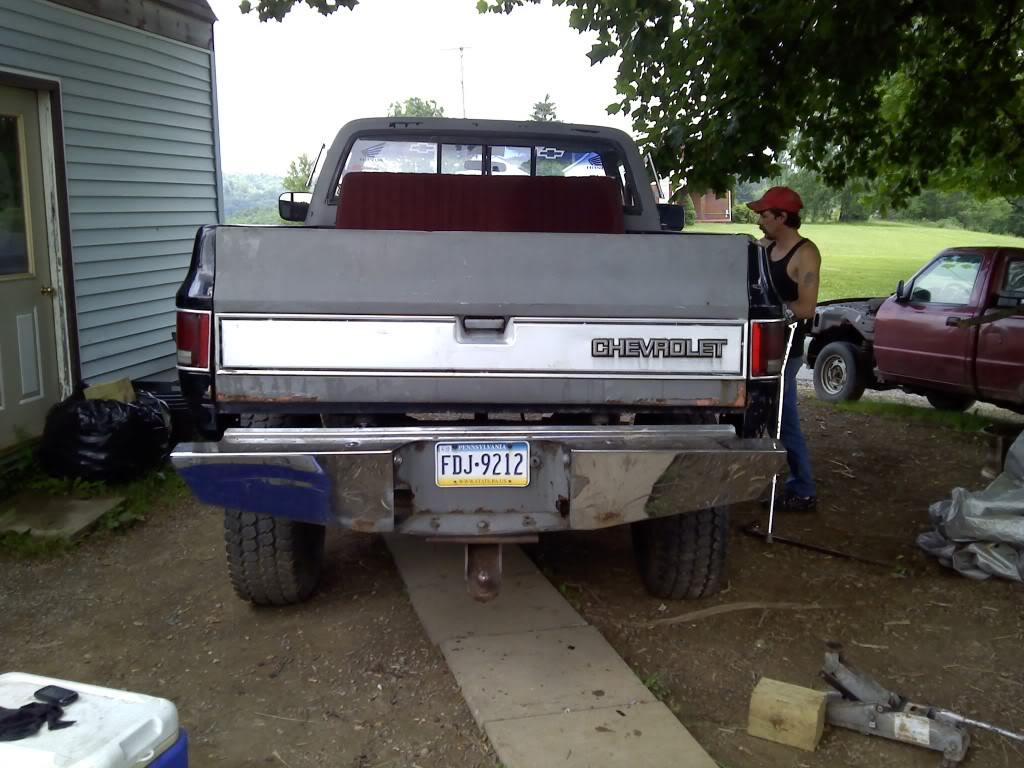
And if your wondering the seat in the bed will be bolted down with some kind of waterproof cover on it but its not to ride in its just so we can chill at the track or while out riding wheeling whatever.
And if your wondering the seat in the bed will be bolted down with some kind of waterproof cover on it but its not to ride in its just so we can chill at the track or while out riding wheeling whatever.
TruckForum Addict
Joined: Feb 2011
Posts: 879
From: iowa
ur truck is lookin great
what color are you gonna paint it eventually

Administrator
Joined: Feb 2010
Posts: 1,742
From: Northern Ont
I love the 73 to 87 Chevy short box trucks. I hope to have my opportunity to restore one some day too.
In the mean time I'll just have to live vicariously throw your project. I lovin what I'm see'n Nice work
In the mean time I'll just have to live vicariously throw your project. I lovin what I'm see'n Nice work
Thread Starter
|
Junior Member
Joined: Nov 2010
Posts: 91
Im not so much worried about what it looks like, if it runs and moves thats good but i plan on trying to start another project pretty soon and its gonna be done right and look good but will prob take a few years to finish.
Thread Starter
|
Junior Member
Joined: Nov 2010
Posts: 91
Heres a little update i guess.
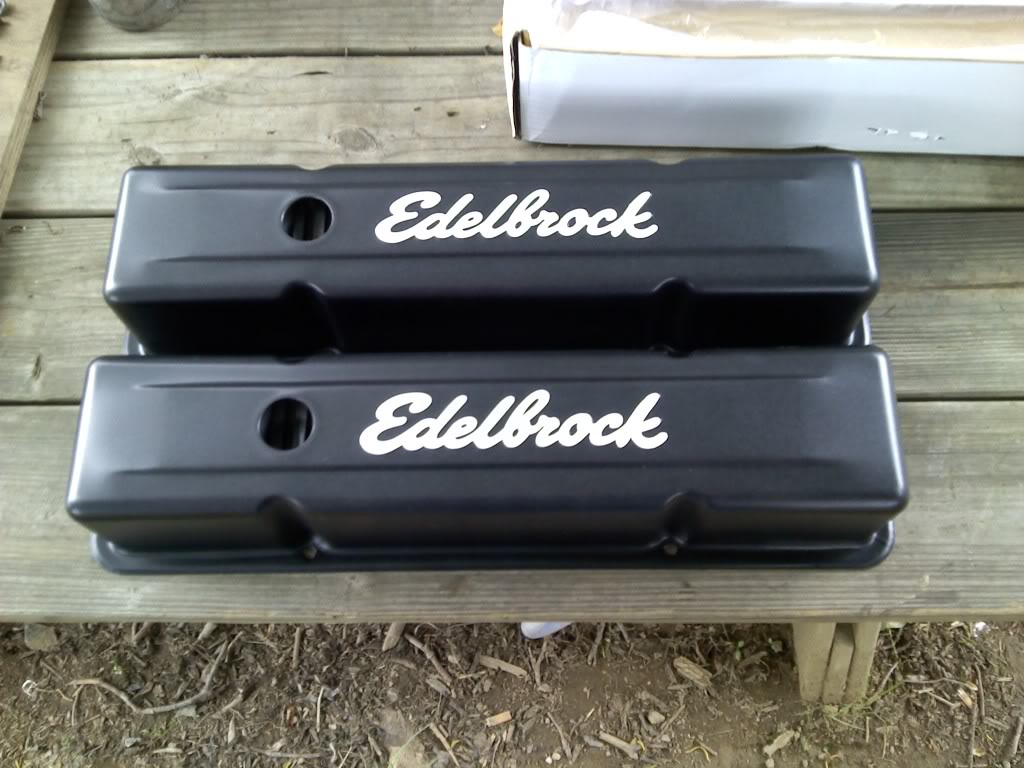
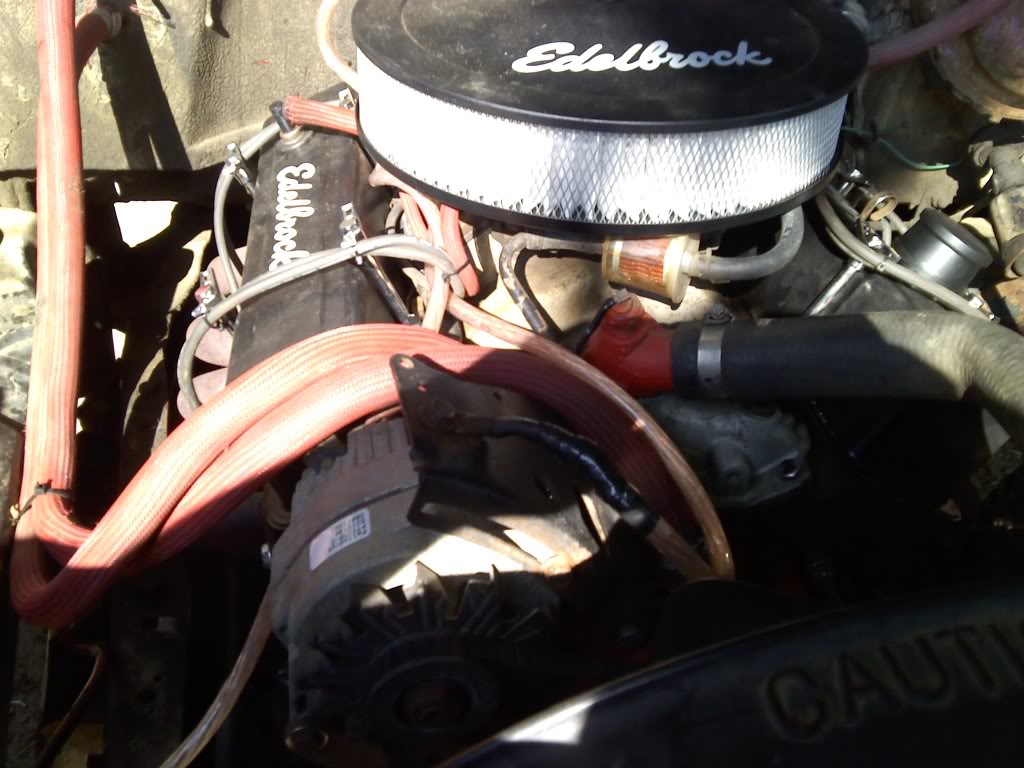
I have not heard anything about my valve covers for a couple weeks from edelbrock and today i get a package in the mail from edelbrock. Ended up being my valve covers(didnt think it would be cause last i heard they were still on back order)
Anyway i figured what the heck ill put them on and see how they look.
Sorry the pics still suck cause there off my phone
Ran into a little problem when putting the first side on, went to put the new wingbolts or whatever there called in and the new ones were a considerable amount longer and would not tighten down. (you can see the threaded part was much longer on the new one)
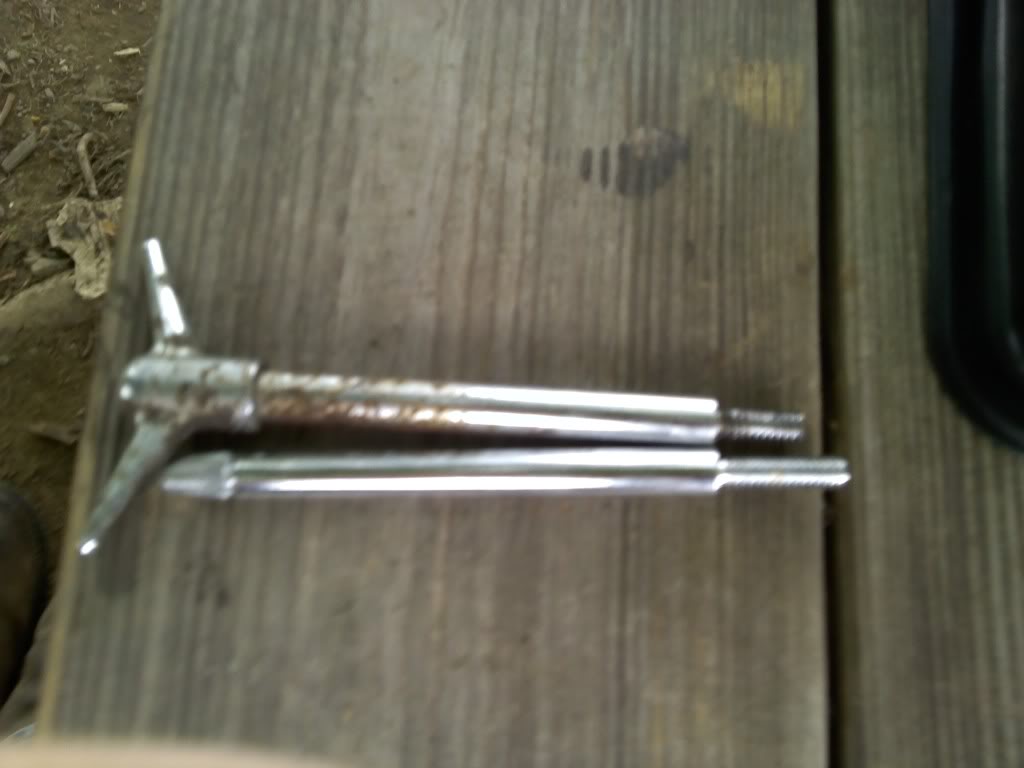
So i got out the trusty old hack saw and took a little off the end then they were perfect.

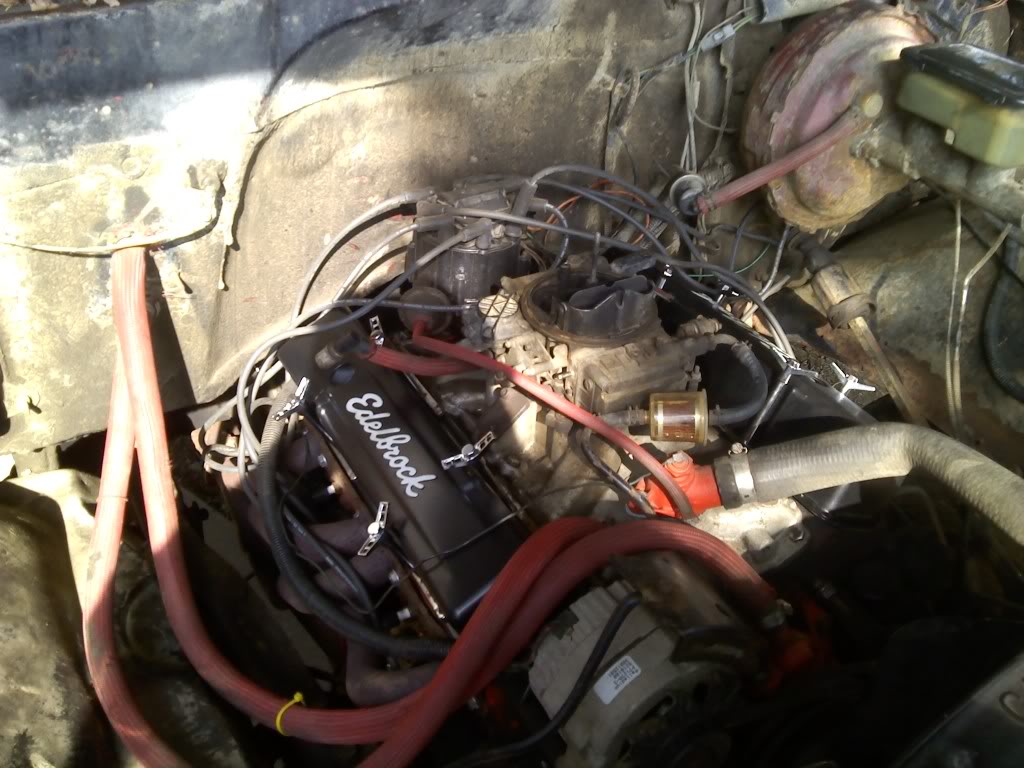
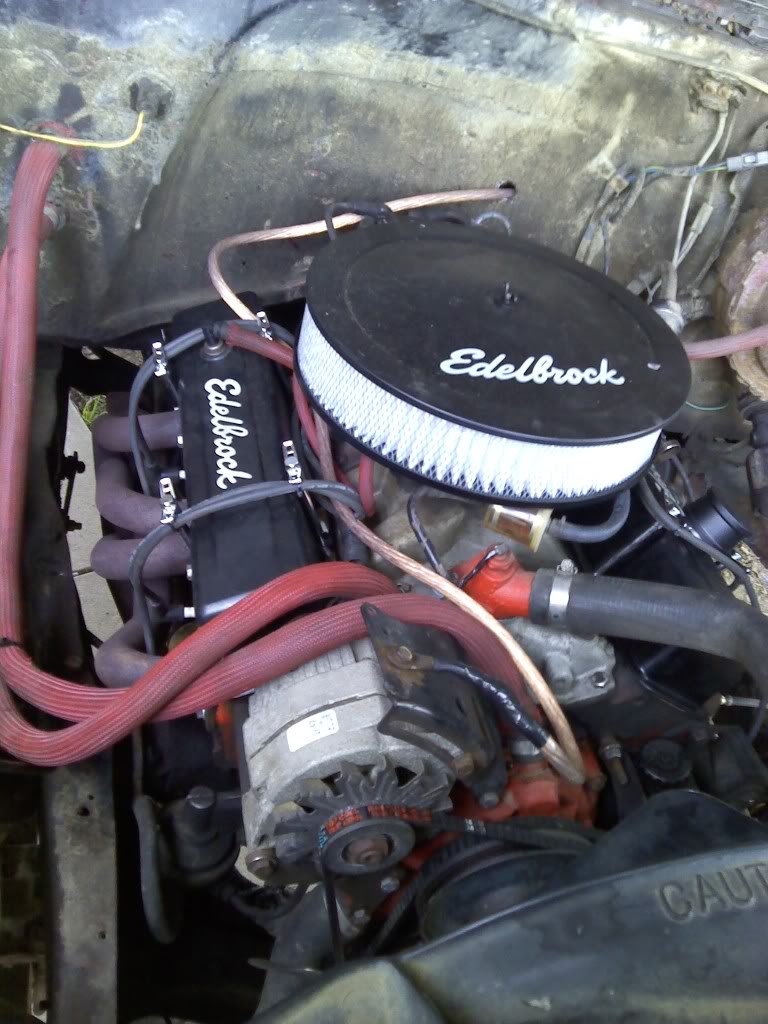
And last shot with the new airfilter on and the new breather also.
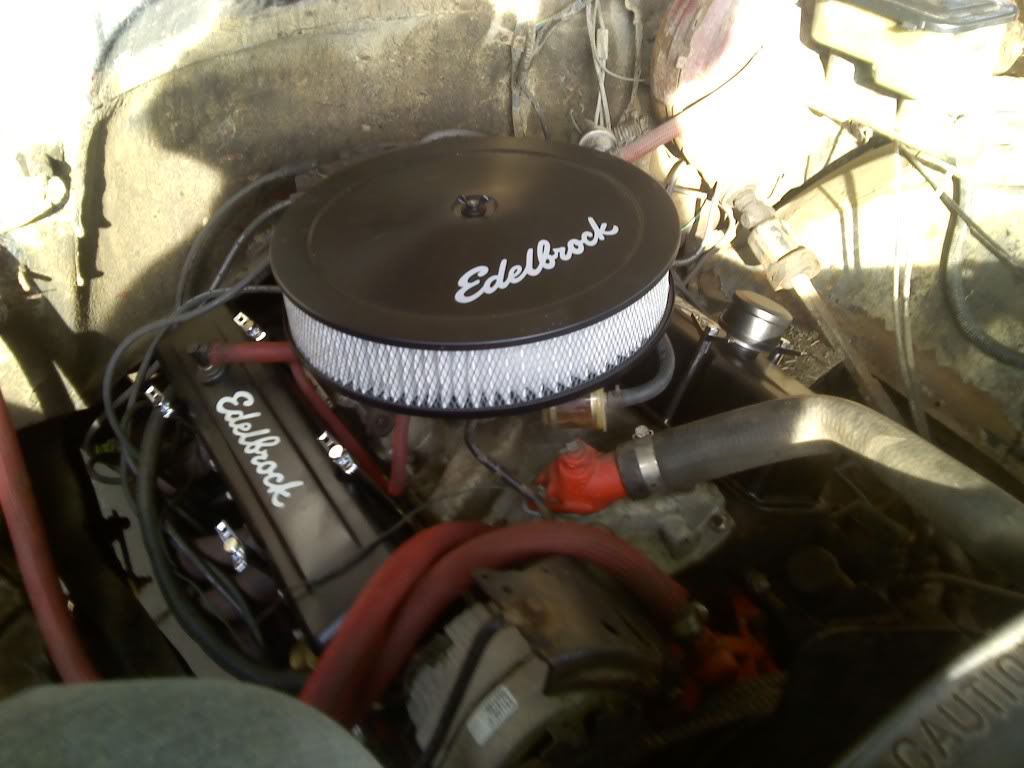
Now only if it weren't for that holley mixed up in the sea of edelbrock lol owell its gonna stay for now and prob for good.
I have not heard anything about my valve covers for a couple weeks from edelbrock and today i get a package in the mail from edelbrock. Ended up being my valve covers(didnt think it would be cause last i heard they were still on back order)
Anyway i figured what the heck ill put them on and see how they look.
Sorry the pics still suck cause there off my phone
Ran into a little problem when putting the first side on, went to put the new wingbolts or whatever there called in and the new ones were a considerable amount longer and would not tighten down. (you can see the threaded part was much longer on the new one)
So i got out the trusty old hack saw and took a little off the end then they were perfect.
And last shot with the new airfilter on and the new breather also.
Now only if it weren't for that holley mixed up in the sea of edelbrock lol owell its gonna stay for now and prob for good.
Thread Starter
|
Junior Member
Joined: Nov 2010
Posts: 91
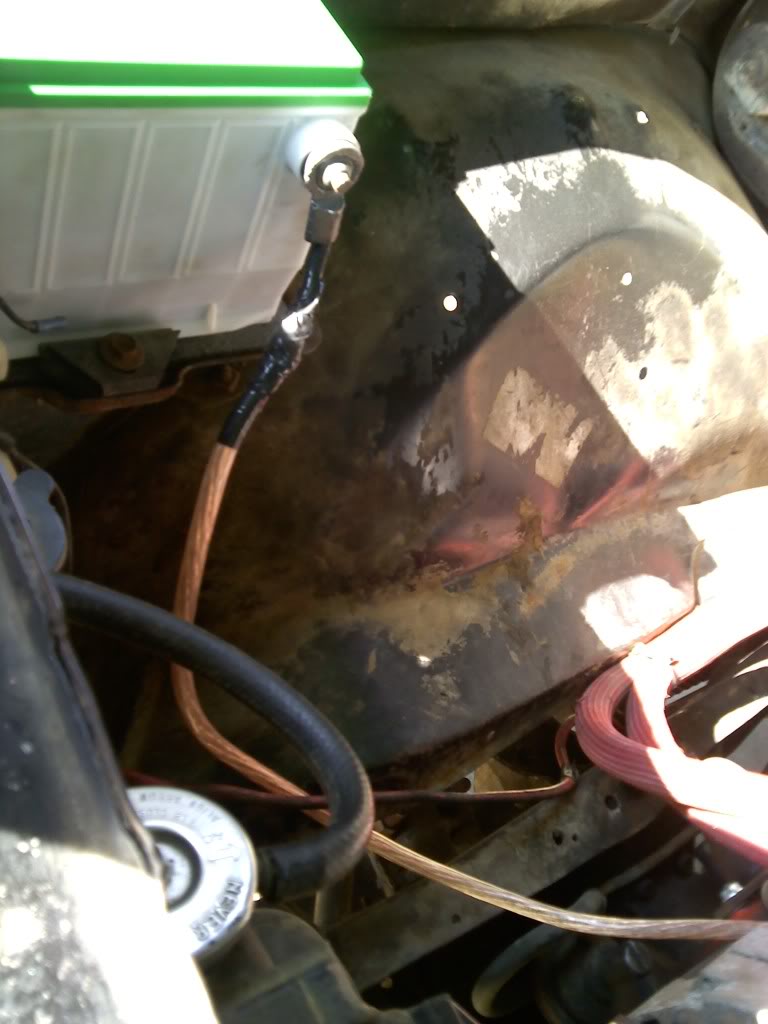
So today i hooked up a power switch so i can kill power to everything just with the flip of a switch(just essentially breaking the ground)
Bought a regular switch made for this from advanced auto that is made to mount on the batter but i rubber mounted it underneath my dash above and too the right of the gas pedal so its close to reach but still does not hit your feet or legs
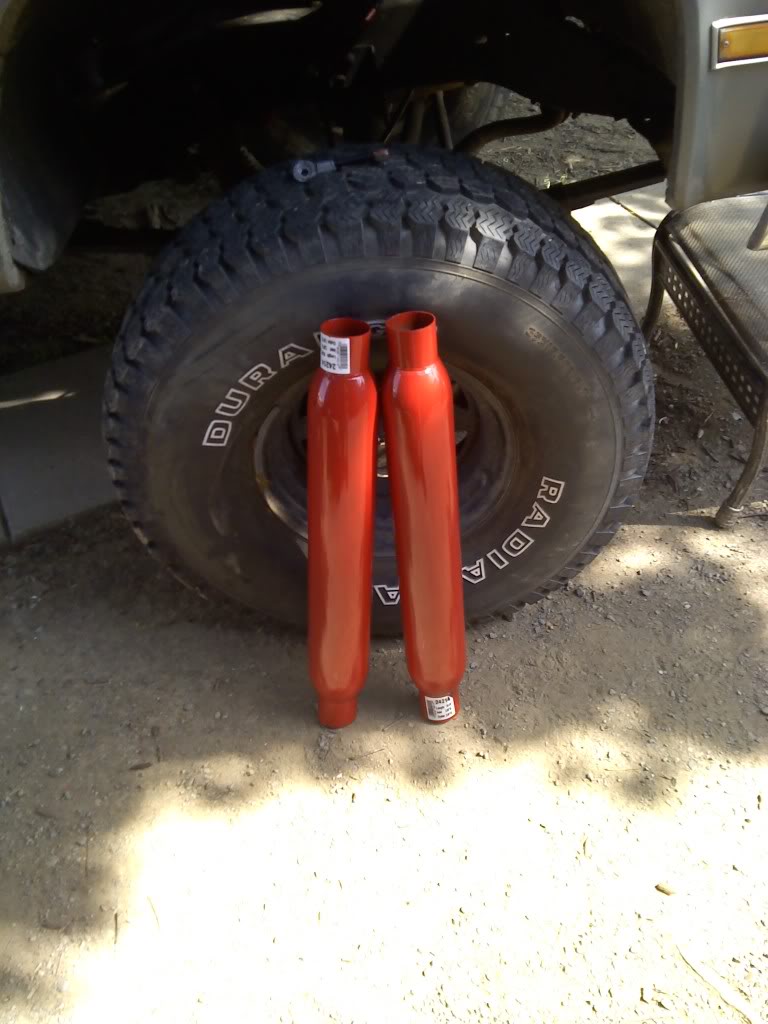
Also got some new gaskets on the headers since the others were leaking and making an obnoxious popping sound, its 1000x better now with no popping sounds at all.
I rubber mounted with grommets i pulled out of an old gas tank i had on one of my 400ex's and they fit pretty much perfect in two pre-existing holes in the dash.
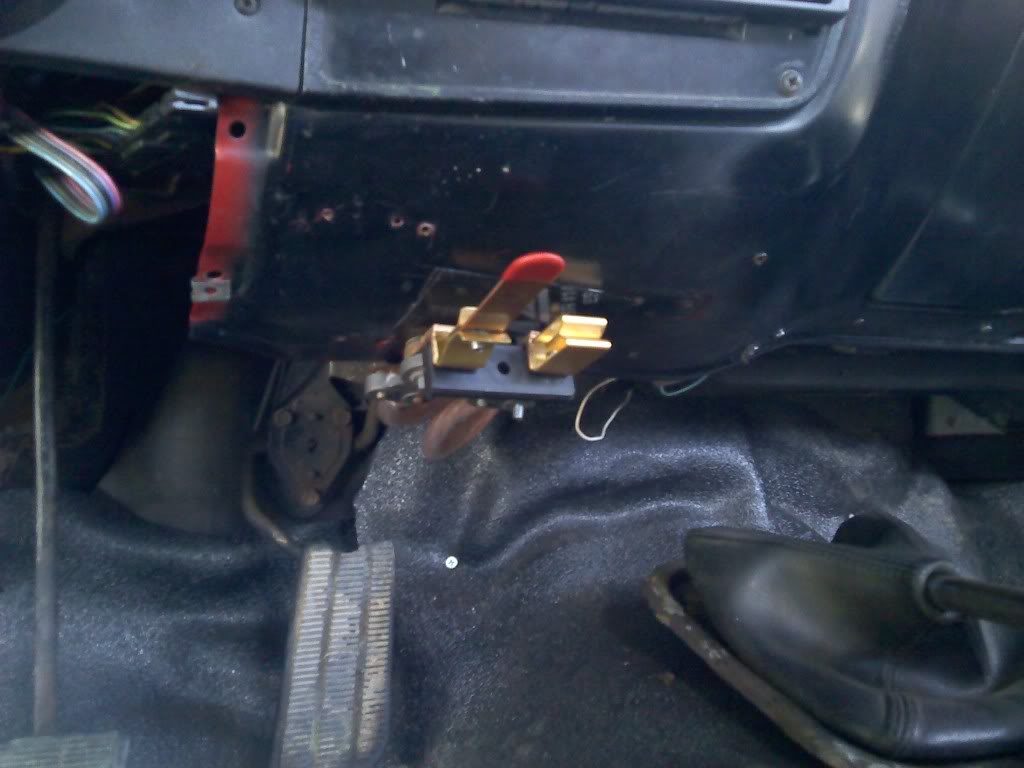
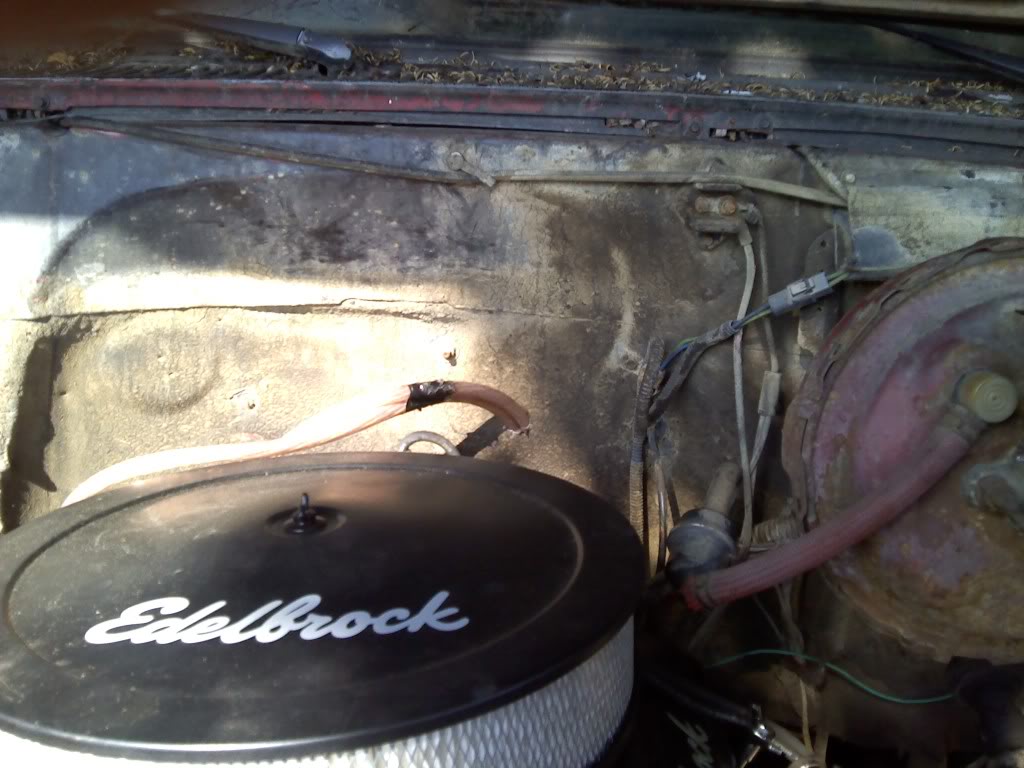
There was already a hole in my firewall for something the previous owner had ran threw it also, so i made the hole a little bigger so i could fit the two pieces of cable throw.
A pic of how the ground is made and what completes the circuit
both ran throw and tucked beside the new valve covers
Also picked these up while i was in town at another local parts store.
Bought a regular switch made for this from advanced auto that is made to mount on the batter but i rubber mounted it underneath my dash above and too the right of the gas pedal so its close to reach but still does not hit your feet or legs
Also got some new gaskets on the headers since the others were leaking and making an obnoxious popping sound, its 1000x better now with no popping sounds at all.
I rubber mounted with grommets i pulled out of an old gas tank i had on one of my 400ex's and they fit pretty much perfect in two pre-existing holes in the dash.
There was already a hole in my firewall for something the previous owner had ran threw it also, so i made the hole a little bigger so i could fit the two pieces of cable throw.
A pic of how the ground is made and what completes the circuit
both ran throw and tucked beside the new valve covers
Also picked these up while i was in town at another local parts store.
Last edited by PaRedneckRiders; Jun 30, 2011 at 06:42 PM. Reason: had to talk about the header gaskets
Thread Starter
|
Junior Member
Joined: Nov 2010
Posts: 91
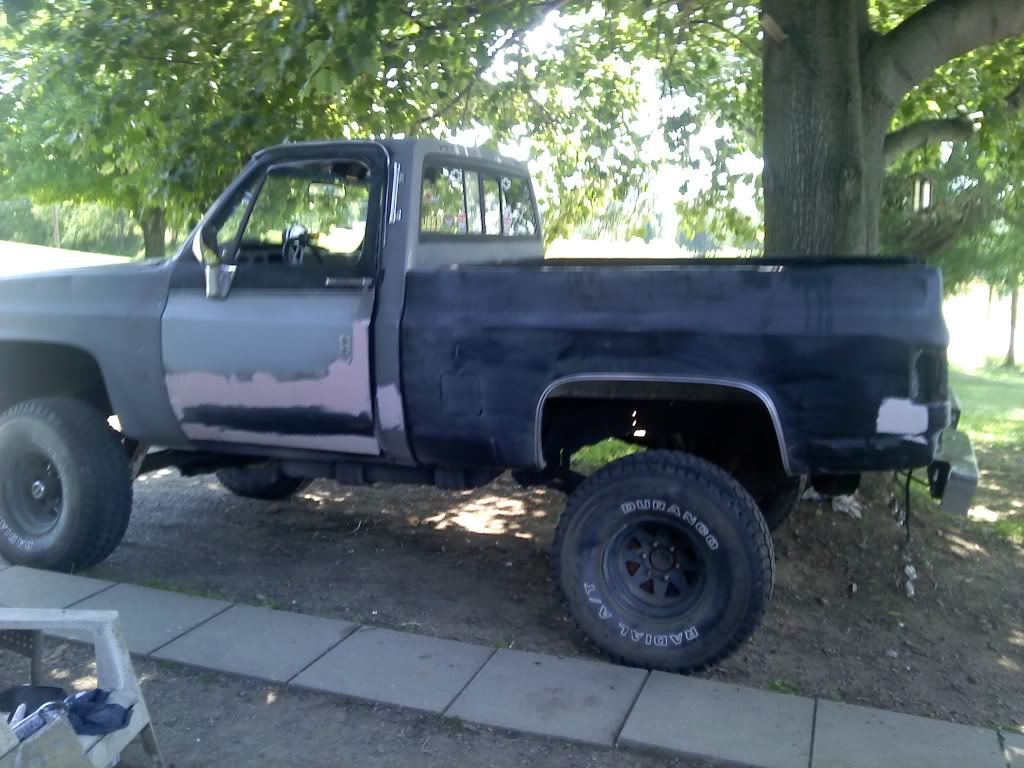
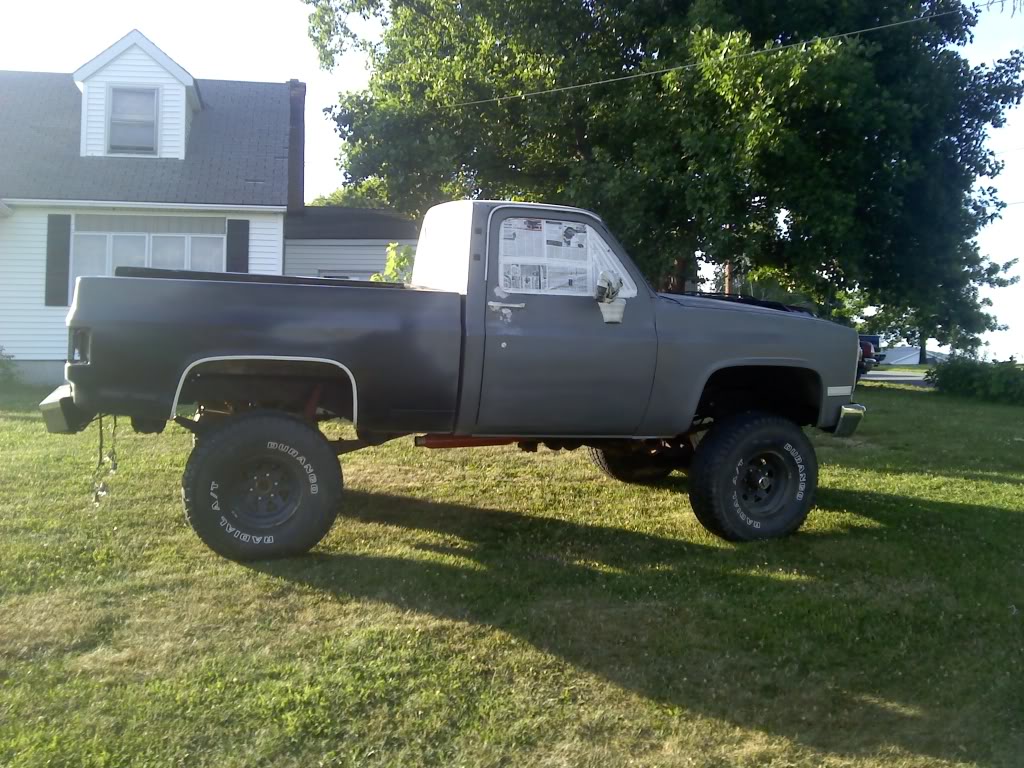
Well i havent gotten much done lately, mostly body work and getting it all ready for paint.
I was thinking about using the duplicolor paint shop paint but decided to just use some tractor implement paint from Tractor supply since had good results with it before.
Got the bed all scuffed down (did not wipe it down yet in this pic)
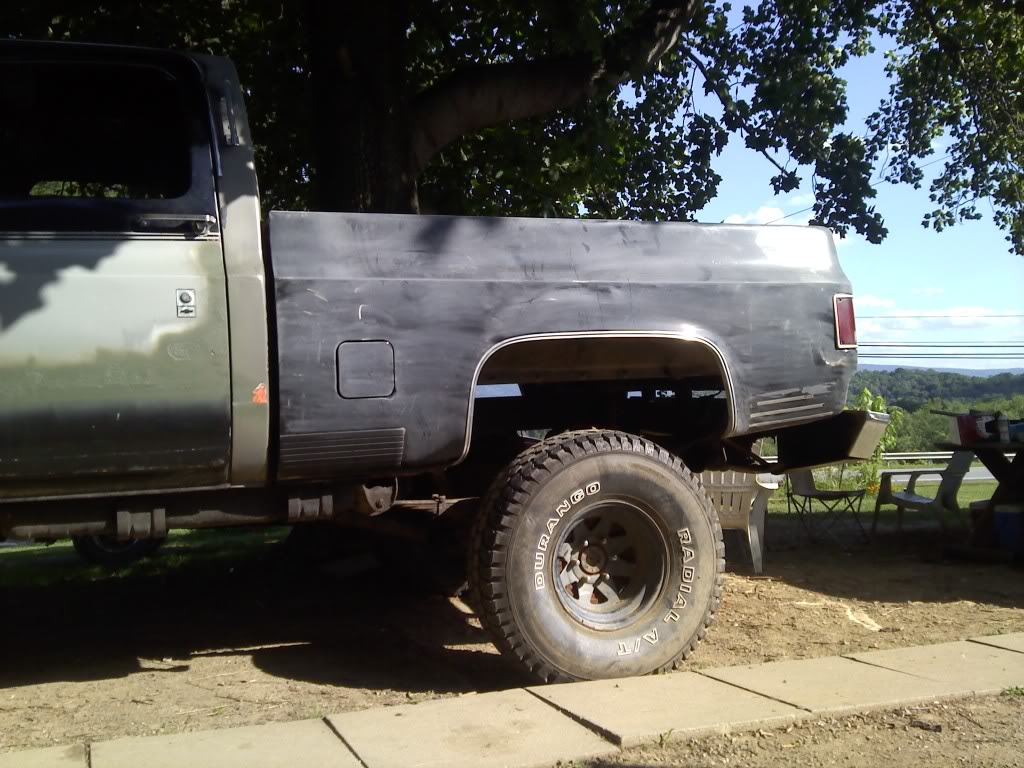
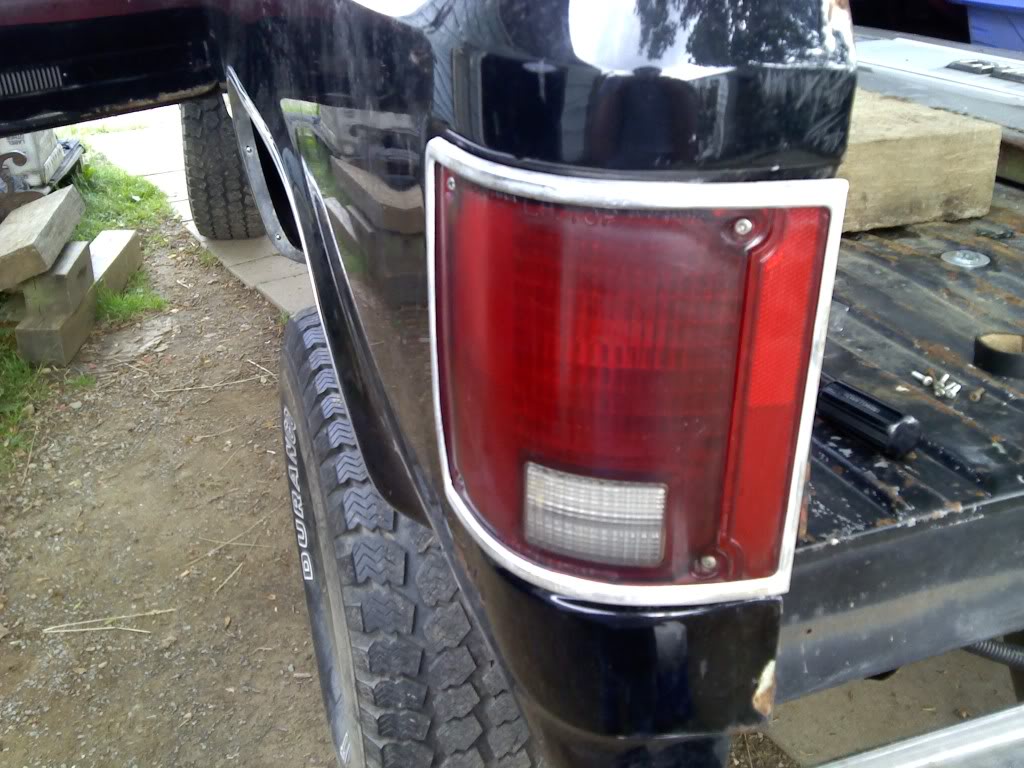
Got some bondo on the door where there used to be a plastic piece (cant think of a name right now) and all sanded down, along with a dent we got out of the back of the bed under the taillight.
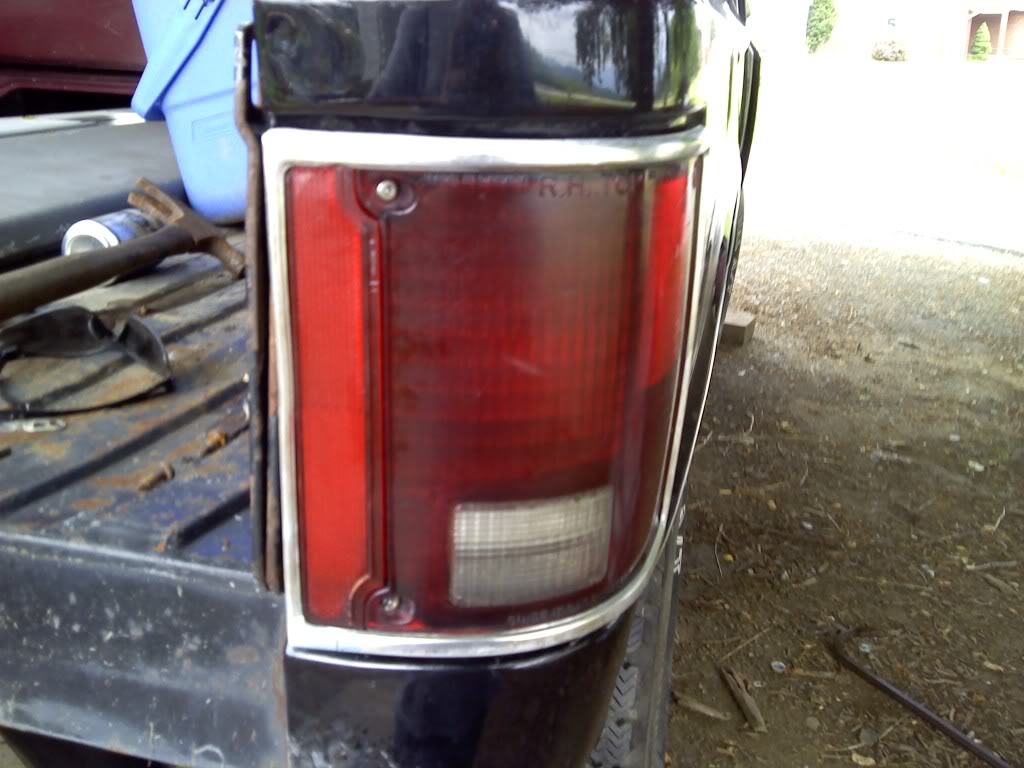
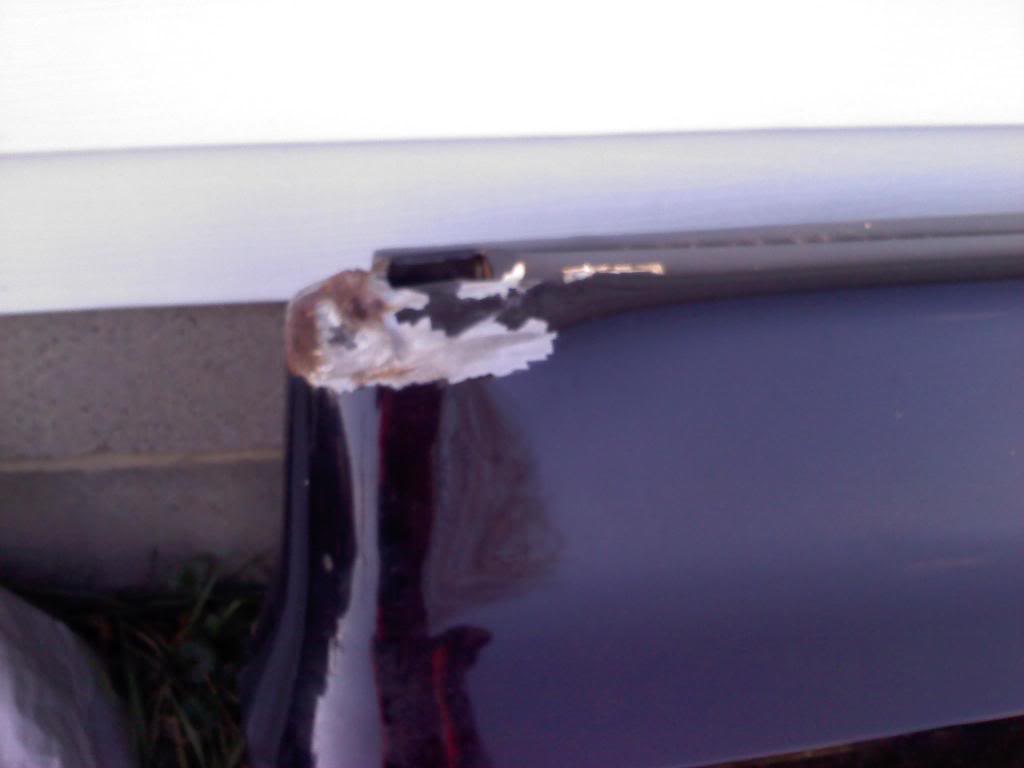
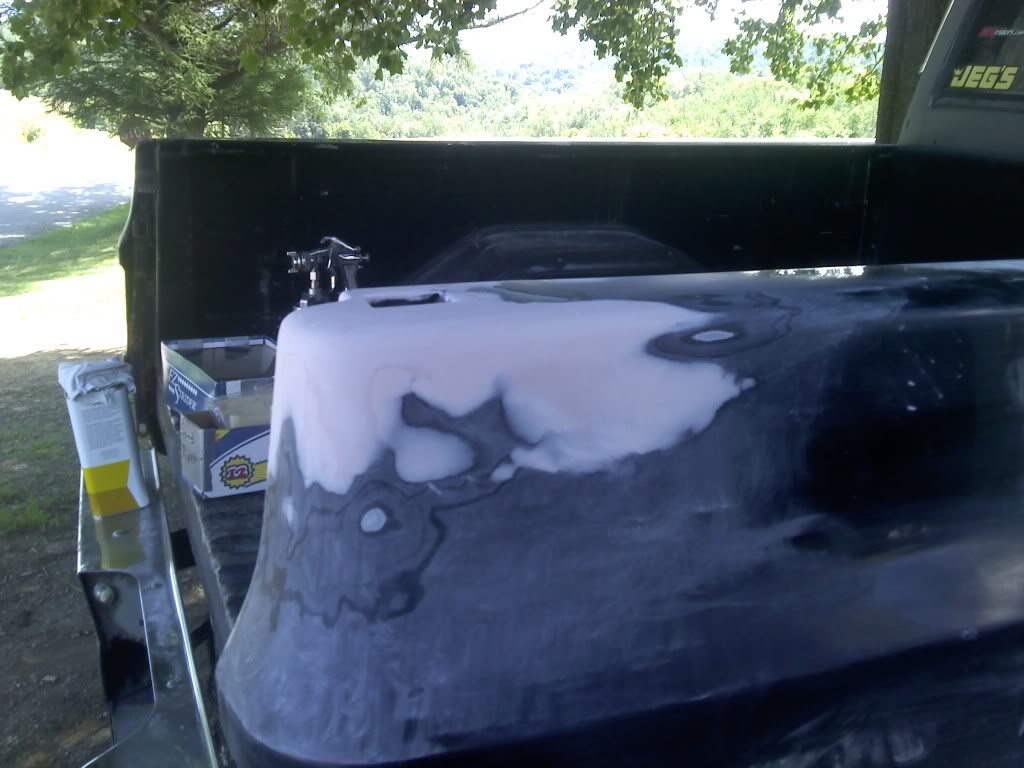
And the bed i bought had a crushed corner, so did a little coaxing with a hammer and pipe/crowbar and got it partially out then did a few layers of bondo and got it to match the body line. It still seems like the back is a little lower than what i want and i wasn't real happy with it but let it go. Hard to tell now that there is paint over it.
Before
After
Then had some old grey i sprayed a thin coat over where the bondo was. (really seems to pop out in these pics)
And then got it all papered and taped off
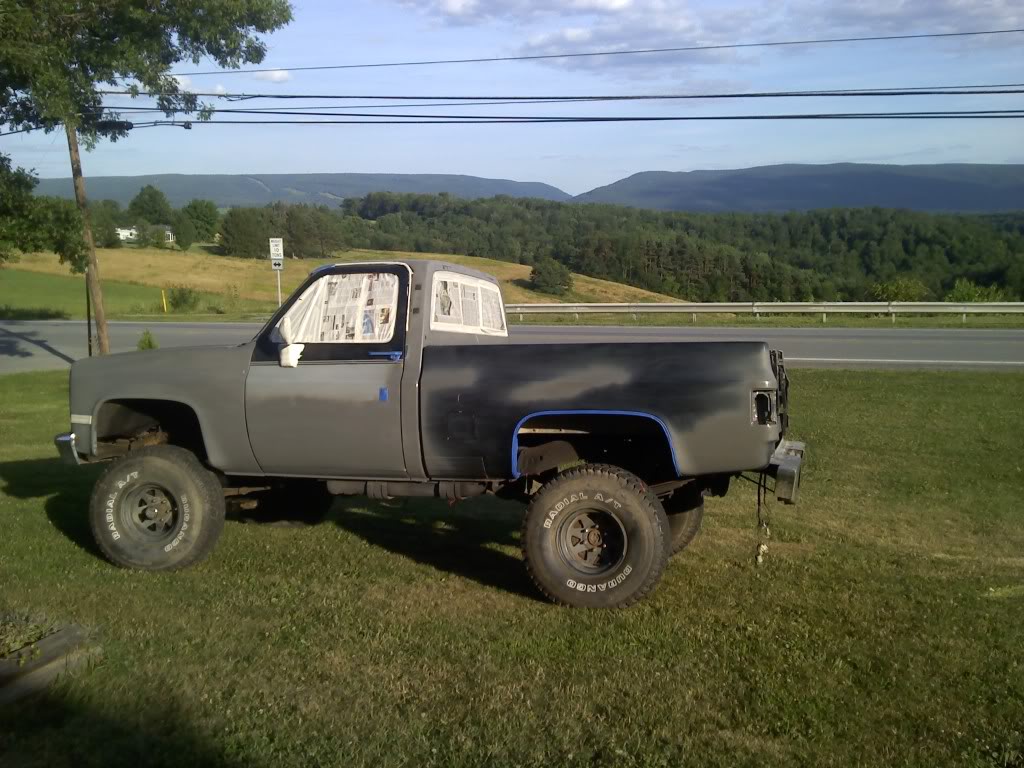
And thats where i stopped for last night, Today im going to try and get all the painting done and then i can post some more pics tonight or tomorrow morning.
I was thinking about using the duplicolor paint shop paint but decided to just use some tractor implement paint from Tractor supply since had good results with it before.
Got the bed all scuffed down (did not wipe it down yet in this pic)
Got some bondo on the door where there used to be a plastic piece (cant think of a name right now) and all sanded down, along with a dent we got out of the back of the bed under the taillight.
And the bed i bought had a crushed corner, so did a little coaxing with a hammer and pipe/crowbar and got it partially out then did a few layers of bondo and got it to match the body line. It still seems like the back is a little lower than what i want and i wasn't real happy with it but let it go. Hard to tell now that there is paint over it.
Before
After
Then had some old grey i sprayed a thin coat over where the bondo was. (really seems to pop out in these pics)
And then got it all papered and taped off
And thats where i stopped for last night, Today im going to try and get all the painting done and then i can post some more pics tonight or tomorrow morning.

