
Cheap Body Mod List


Junior Member
Joined: Feb 2007
Posts: 29
From: Fresno, CA
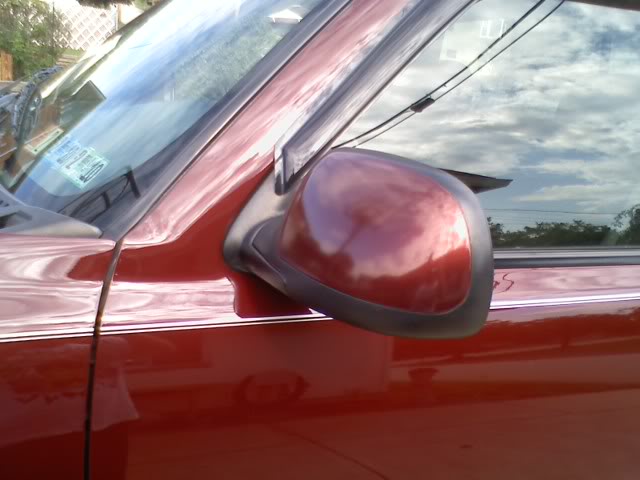
Thought I would add some visual aid to the Antenna mod. First two pictures where off my 06 and the 2nd where off my dads 02. I used some self taping weather strip and put the antenna though the holes.


Beginner
Joined: Dec 2009
Posts: 44
I took your antenna idea and applied it - and OUTSTANDING
I took the cowl off - unbolted the antenna base - drilled a 1/4 inch hole in the side of the center cowl section - slid antenna in - black zipped tied the antenna to the cowl grill to keep from rattling - reinstalled cowl - threaded antena back on - completly reinstalled the cowl - pulled the antenna out a little bit to conceal the mount in the fender - then reinstalled the end caps and all done !!!
30 minutes - All done
Will post pics later

That didn't take long....
Adding a Removeable tool box:
Most toolboxes that go on top of the bed of a truck require that you drill through your bed to mount the truck. This writeup is for those who want a toolbox without destroying their bed.
1. Purchase a tool box for your truck. Aluminum boxes from Tractor Supply Company or another NON-STEEL toolbox is preferrable. If you get a low profile box, you might have to do some modifying to the mount to make it work.
2. Purchase at least two (2) of the following item. You can find them locally sometimes. A regular anchor that they sell at WalMart will not work.
Highland Stainless Steel Truck Stake Pocket Anchors, pair - CargoGear Car and Truck Accessories
3. Purchase some rubber or synthetic mat, about the same thickness as the height of the base of the anchor. I used non-slip rubber mats that you can get for a garage toolbox.
4. Install the base of the anchor on the bed, towards the cab. They are simple screw systems and will hold tight. I had one strip out when I moved my setup from my '94 to my '04 Silverado, so you might want to get some new screws and tap them when you put it in.
5. Measure and drill two holes just larger than the post screw into the box. Measure twice, cut once (I have three holes in one side of my box :$ ).
6. Cut the rubber strips and glue them with rubber cement to the bottom of the toolbox next to the holes you drilled (just far enough so they don't overlap with the base of the anchor. This will protect your bed from the metal of the box. Using rubber means that little water/salt/sand should get under it and wear on the paint. If you are really concerned about rubbing, you can purchase some bed rails and put those in first, then the anchor, then the rubber.
7. Lift the toolbox gently into place. Put the post of the anchor through the hole you drilled in the box and into their mount. Tighten the post to secure the box to the bed.
8. Removing the box: Simply open the box, remove the anchor posts. Remove the box and replace the anchor posts.
Note: Low Profile Toolbox. You might have to cut down the actual anchor. You won't have the loop to use as an anchor when the box is off, but at least you could remove the toolbox if you need extra room in the bed.
I can get some pictures at some point this weekend if needed, maybe after it stops snowing....

